




Design Tips For 3D Printing !
Release time:
Category: Resource Design Tips
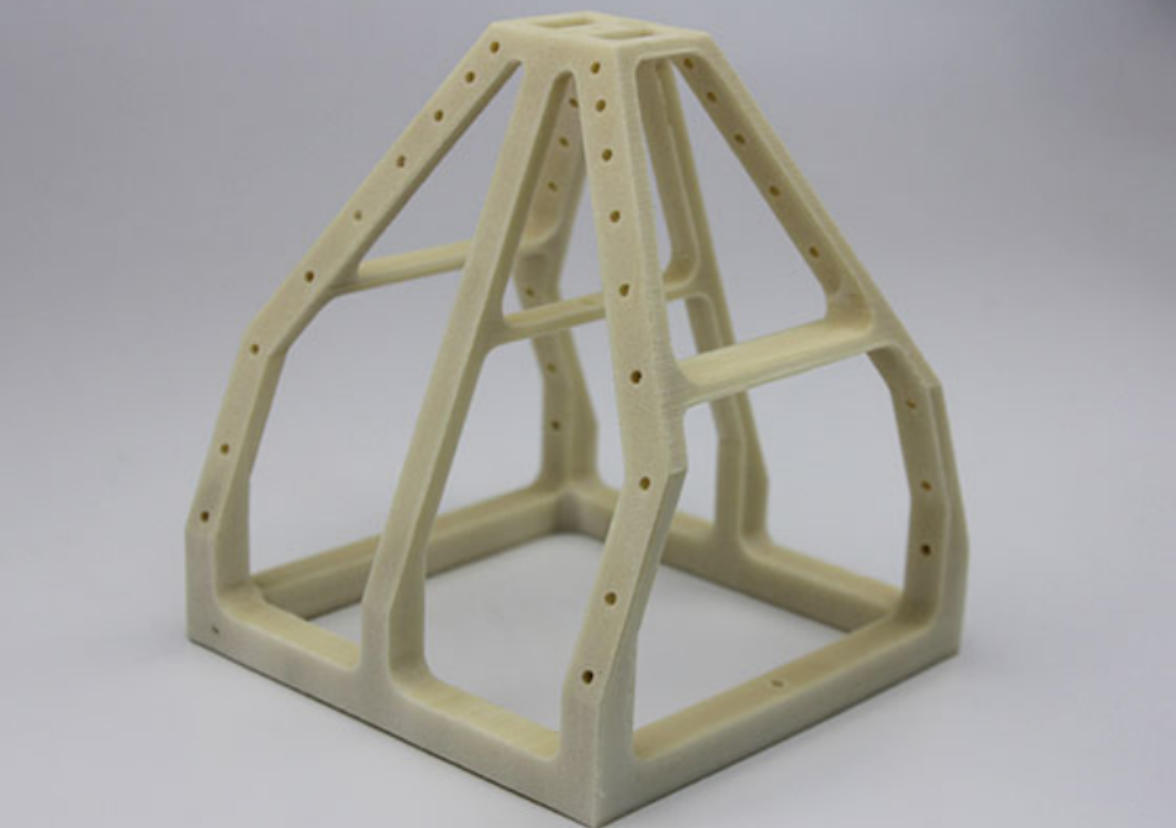
3D printing technology offers a unigue combinaion of design freedom and ease of reproducion. in the space of a few hours, you can come upwith your won unigue 3D model and turn it into a physical object, all without the use of expensive molds and heavy-duty machining toolsHowever, not all 3D models translate wellinto 3D printed objects. Some may be harder to pulof than the others. lf you're designing your ownmodels for 3D printing.there are cereain factors that you willneed to consider, To help you plan ahead, there are some of the best tips from 3printing and modeling experts.
1.Reduce supports by following the 45-degree rule.
Overhanging features aren't really huge issues when it comes to 3D printing because you can easily remedy the problem by adding supportstructures. However, many 3D printing professionals consider the addilion of supports as a last resort. Not only do they consume a substantialamount of filament, but the process of removing them may damage the finished print or result in uneven surfaces.If you are designing your own model, then you can make a couple of deliberate decisions to reduce the need for supports. The 45-degree ruleis one that's easy to folow and remember - any incline that goes beyond 45 degrees wil need a support structure to support its weight. lfnecessary, you can also add a chamfer, which is a wider incline split into 45-degree segments. Even pushing the 45-degree boundary wouldbe pushing the limitations of the strength of the filament materal, so we suggest keeping allincines close to only around 30 degrees.
2. Get Clearances Right.
If you're looking to create mechanical, fiting parts, this step is essential. No machine is perfectly precise, and 3D printers tend to be lessprecise than other manufacturing technologies.
This means that parts you design must have proper clearances, or gaps between each other, to guarantee a fit. For instance, if you have amount that is intended to hold a bearing, the hole you design for the bearing should be slightly larger than the bearing itself. That way, even ifthe print has a few small artifacts on its surface, the bearing will still fit.
Find the clearances you need for your printer, and don't forget to include them in your designs!
3. Mind overhangs
In 3D printing, objects are created from the ground up, usually in a layer-by-layer process. This means that features hanging in mid-air don'tfare too well, becoming deformed or separating from the rest of the model.
The solution? Support structures. They prop up overhanging areas to retain their intended shape. Diferent 3D printing technologies havediferent support requirements. SLA printing, for instance, almost always demands supports, while in SLS, the plastic powder used for printingalso doubles as the support material.
In FDM, the most common technology, supports are reguired based on the model's geometry, which has a signifcant efect on printing andpost- processing time. lo avoid the hassle, keep an eye on overhanging areas when designing models for this technology. A good rule of thumbis to not to exceed 45 deqrees when possible
It's an extra bit of work, but minding overhangs will save you loads of time in post-processing your print
4. Orient based on resolution and strength
3D prints made using FDlM technology naturally come out with visible layer lines. This is an inherent conseguence of the reliance of FDMprinters on relatively wide nozzles. However, the resolution along the z-axis can somewhat be controled by seting the thickness of theseavers, Resolution on the x-axis and v-axis, however, is determined by the size of the nozzle.
This is something you may need to consider if your model has very fine detais. f you want precise detalls in your model, then it would be besto have those detals oriented along the z-axis. While it's true that models can be rotated along any axis in the slicer software, you stil need tokeep in mind that resolution is not equal among all three axes.
f you are designing a part that is meant to bear a significant load, you may also need to consider the strenath limitations of FDM printing
Basically, the laver ines are the print's weakest points - any stress parallel to them can cause them to get puled apart from each other. Forbest results, it would be best to design your model so that any stress is applied perpendicular to the layer lines.
5.split the model into multiple parts
If you are designing a model for printing on a desktop 3D printer, then the limitation on build size is something you may need to consider. Aferall, your 3D printer may not be large enough to create that action figure or prop you're designing.Spliting the model into multiple parts can also be advantageous if you want to avoid having too many support structures on your print. Forinstance, splitting the model into two or three parts and orienting them in diferent directions may mean each part would have feweroverhanging features. This is worth the effort just to avoid the hassle and extra filament that support structures demand.
There are a couple of diferent ways that you can split apart a model. You can simply cut them in certain sections, which means you'l need toglue the pats together once they are all printed. You can also design snap-fit or press-fit connections, which have the advantage of being nonpermanent. The second option can be useful for large props or prototypes that you'l need to take apart for ransportation and put togetheragain,such as those used in conventions or exhibits.
6.Consider 3D printer tolerances based on nozzle size
There's only so much detail that a 3D printer can reproduce, especially given the size of its nozzle. This holds true for any axis. Moreover,plastic filament naturaly expands as it cools. This phenomenon is something you'llneed to consider when managing your expectations of how
detailed a model can be when printed.
A good rule of thumb to folow is that the effective size of a filament when it is extruded and cooled is around 1.2 times the diameter of thenozzle. For a standard 0.4-milimeter nozzle, this translates to 0.48 milimeters. This means that the features of your model need to be at least0.48 millimeters or larger on each axis.
Tolerance refers to the distance between two nearby features that is just large enough for them to not fuse with each other. Again,the efect ofthermal expansion is something you'l need to consider when desianing for tolerances. The problem is that there isn't a single tolerance valuethat applies to all flament material and nozzle sizes. Your best bet would be to print this test template to check for the acceptable tolerance foryour setup.
7. Consider the material
If you know the 3D printing technology you'l be using, you'l also know the materals available to you. Like printers, diferent materials havetheir own unique properties. When designing your model, account for these properties.
In FDM printing, for instance, ABS plastic is prone to warping, so your design's base should be large enough to stay attached to the build plate.
Flexibles don't do too well with details, so maybe omit small features. These will all decrease chances of print failure.
Additionally, keep manufacturer specifications in mind. The same material produced by diferent manufacturers can behave diferently, soalways refer to the printing instructions and profiles provided with the material.
Take material considerations into account for a smooth printing experience.
8. Avoid warping by removing sharp corners
Add mouse ears to your model Warping is one of the biggest problems that a 3D printing professional can encounter. This is especially truewhen printing with high-temperature filaments, such as ABS or Nylon. Solving the warping issue takes a monumental efort, from tweaking thetemperature setings to painstakingly applying adhesives to the print bed. Fortunately, you can take steps in the design process to stave off thewarping problem.
The most common manifestation of warping is when the comers of the base lavers of the print it of the print bed. The comers are especialyprone, as these are the points where the thermal stress generated by thermal contraction accumulateOne of the smartest ways to avoid warping is to avoid this accumulation of thermal stress by designing rounded coers. This results in a moreeven distribution of thermal stress not only on the base layer but also for the rest of the print.
While using rounded comers is not an assurance that you will no longer run into a warping problem, it should help avoid the issue from manifesting
9. Add mouse ears to your design
Use "mouse ears", helper disks and cones designed into your model to help it print without the use of computer generated supports.Mouse ears are basically small disks located on the corners of the base layer of the model. The idea is to increase the surface contactbetween the corers of the model and print bed in a bid to prevent these comers from lifing of. Some slicer sofware platforms offer the optionto add mouse ears to models before printing, athough not many of them do. in the case of the laer, mouse ears willhave to be added to the
original 3D model.
The use of mouse ears allows you to retain the sharp edges in your model. However, you'l have to live with the fact that your finished print wilhave mouse ears on its base. it would be a good idea to integrate mouse ears into the overall aesthetic of your design. Unlike supporstructures, mouse ears are practically impossible to remove without ruining the rest of your print.
10. Watch File Quality
Before 3D printing, your design must be converted to a 3D printable file. During this process, there are a few key items to note:
.Ensure that your converted file is of suficient quality. The above image demonstrates the importance of this: a higher-.quaity file wil belarger, but wil be more geometrically accurate. This is especially significant when you have small features, which are sometimes completelyomitted when file quality is low.
. Check that the file is "watertight". This means that it has no holes in it that could confuse your slicing sotware.A powerful, free tool for thisis MeshMixer from Autodesk.
.Scale your model before exporting. This will prevent detal loss caused by scaling up your model after the fact. This is like how a low-resolution image looks fine when it is small, but becomes pixelated when you make it arger. Models exported before being scaled may seemfine when left alone, but can totally fall apart when you try to scale them later.
Any desian, however impressive, can be laid low by file errors. Watch for file quality to get the best results!
Related Information
The development characteristics of processing technology for titanium alloy materials and products !
2025-08-07
2025-08-07
Design Tips For CNC Machining!
2025-08-07
CONTACT US
> WhatsApp : +86 18124007581
> Email : info@winners-rp.com
> Add : No103,BLDA,Tong Fu Yu Industrial ParkA-6,BuChong,ShaJing,Bao'an district ShenZhen,China,518104
Consultation quote
We will reply to you within one working day. Please pay attention to the email message.
Consultation quote:
WhatsApp:
Email:
在线客服添加返回顶部
右侧在线客服样式 1,2,3 1
图片alt标题设置: 记得修改:公司名称
表单验证提示文本: Content cannot be empty!
循环体没有内容时: Sorry,no matching items were found.
CSS / JS 文件放置地